As businesses are starting to open you, you may be wondering how you can operate during this time frame with your photography business and IF you can even do a photo shoot.
I’m here to tell you it is very possible and to saddle up. It’s time to get going and here are some safety tips for you and your clients to get a move on.
You might be wondering, who the hell is this guy to give me safety tips on a virus that nobody seems to get right in the media?
Well, for starters, I operated as an Explosive Ordnance Disposal Technician (bomb squad in civilian speak) in the U.S. Army for 8 years.

I’ve mainly operated on I.E.D’s, and Unexploded Ordnance (UXO) however, I’ve also trained in the mitigation and disposal of hazardous materials such as chemical, biological and radiological weapons.
Regardless of what the material is, the concept is the same. Prevent contamination and cross-contamination.
So here we are with some safety tips that you can use to operate while doing a photo session with your clients.
Before I begin, get this through your head: We are MINIMIZING RISK. There is NO 100% safe method with anything, ever. Not today, not tomorrow, not ever. This goes for everything we do in our business and our lives.
There are only steps you can take to help yourself and your clients. So let’s get going.
Here’s what we’ll be covering:
• Disinfect your gear
• Distancing
• Scheduling & Travel
• Bonus – Down Wind Hazards
#1
Disinfect Your Gear (Before and After)
There is NO 100% method to completely decontaminate any object. Only the ability to do the best we can do, and minimize the risk. Unless you want to dunk your entire gear into a bleach solution and place in an incinerator, it isn’t happening.
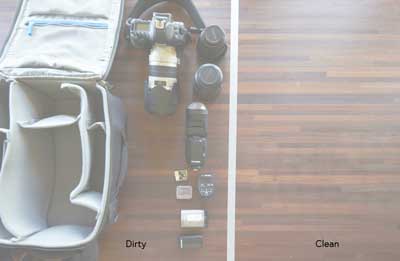
Clean and Dirty Wash Space
One of the easiest ways to manage cleaning gear is to have a clean space and a dirty space for your camera gear and equipment. If I’m doing outdoor sessions, I use the back of my truck (tailgate actually) and separate it in 1/2. This is our clean side and a dirty side.
(You can use a park bench, sidewalk or whatever you have near you. Just get the job done.)
Now imagine your own line or place some gaffers tape in the middle, splitting the right and left sides. However you want to do it. One side dirty, one side clean. Just know, NOTHING GOES ON THE CLEAN SIDE UNTIL IT HAS BEEN DISINFECTED.
Before you begin, place your camera bag on the dirty side, unzip, open it up and pull out everything from your bag, place it on the dirty side. You want access to all of your gear without having to pull it out over and over.
Wash your hands and the clean side of your space. (We aren’t doing anything with our dirty side just yet as this is the side all of our gear will be on after our shoot)
At this point, we are thoroughly cleaning each item with your preferred solution (more on that below) and once done with each item, place it on the clean side, NOT in your bag. Let those suckers sit out in the sun for as long as possible. I recommend starting with the inside of your bag and then wiping down the exterior cloth and zippers prior to setting it down on the clean side, but to each their own.
Repeat this process with each item until everything is clean and DO NOT touch anything once on the clean side. Wait until everything is done.
If you happen to place any clean item on the dirty side, consider it unclean and repeat your process.
If you have equipment in your bag that you didn’t use, it gets cleaned too. This is why I recommend minimizing your kit to an 85, 70-200 and a 24-70.
Go with whatever lenses you need for your style and can complete the images you need for your sales.
Just know, if it goes with you, it gets cleaned.
Equipment
Although the chance of someone actually touching your gear while doing a photo session may be minimal, we still need to operate in a “worse case scenario” as if they are going to.
Always make sure to follow the manufacturers guidelines but, for all intensive purposes we are only going to be concerned about the exterior of the body and lens. Anything that manages to get on the inside is going to stay there or eventually find a way out.
Cracks, crevices, moving parts, unsealed lenses, there are many places a virus and bacteria can go. We are concerned with minimizing the risk and staying operational all while being as safe as possible.
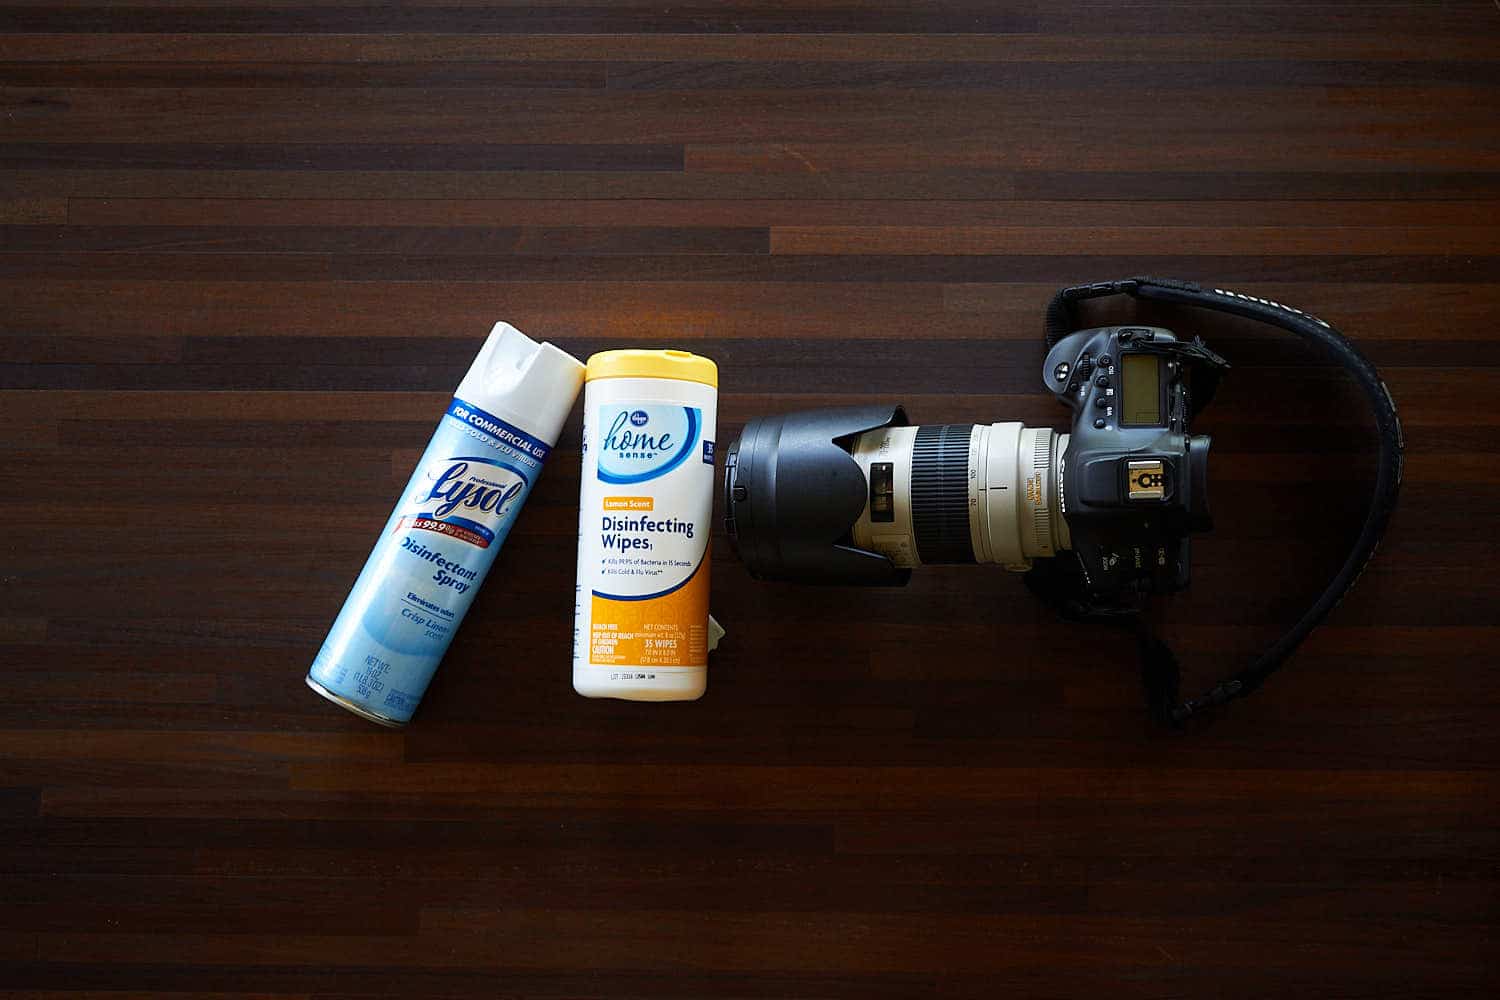
Using a bleach solution (1/3 cup bleach per gallon of water) or alcohol solution (70% alcohol solution or higher), wipe down your camera and lighting gear thoroughly. For stands & weight bags, I would use a simple soap and water mix. You can read the CDC cleaning and disinfecting HERE.
I have seen no reference from the CDC or any Health administration as to the contact time to be effective. Again, we are mitigating risks to the best of our ability. So, if they ever update it, please follow their guidelines.
I personally am cleaning each item for about 5 -10 minutes so I’m limiting how many lenses I’m bringing with me on outdoor sessions to prevent contamination on multiple items.
Studio
For studio users, follow the CDC guidelines HERE.
A simple recap of what they talk about is:
• Clean using soap and water first, then a disinfectant 2nd (same solutions mentioned above)
• Make sure to clean your high touch surfaces (doorknobs, light switches, handles, phones, faucets, sinks, etc.
• If someone is sick, wait 24 hrs. before you clean or disinfect.
• Clean all areas any infected person uses.
If they are in your studio, make sure to clean the floors, walls, chairs, and if you wanted to be extra clean, cut that paper back drop, throw it away and roll out more for your next client.
#2
Distancing
Shooting from a distance
There should be absolutely ZERO reason you aren’t able to shoot from beyond 6 feet. Regardless if you are doing a headshot, portrait, or landscape.
It isn’t uncommon for me to do portraits from 12-15 feet away. All of my outdoor headshots are done at 200mm and if you haven’t tried it, you should. It creates a dreamy background all while you are shooting far enough away to keep enough detail in focus for both eyes. I love it!
If you only have a 35mm lens and are doing portraits, up close and personal, it’s time to do some soul searching about how badly you want to do photography. Either rent or borrow some lenses so you can complete out your kit so you can shoot from a further distance.
If you are in a small studio space, adjust fire and work outside so you can keep a distance.
“But I use backdrops”
Set that sucker up and use a strobe outside. If you don’t have a strobe, use natural light and pull out those flags, scrims, overhang, alley and everything else to block or modify light. Go get some A-clamps or C-clamps if you need them. Better yet, if you need something more, get some Manfrotto Super Clamps. If you have wider objects to clamp to such as pillars/posts, get some quick grips. There are several sizes and variations of brand depending on if you go to Home Depot or Lowe’s but they are great. Regardless, it comes down to getting it done.
Don’t forget, if you are outside, you’ll want some more sandbags to weigh your backdrops down. I bought a set of 6 empty saddle bags (18lb) and filled them with pea gravel to cut down on costs.
Posing and Lighting
If you don’t already, you should practice and pose your clients verbally from a distance. I do it all the time and although it may look a bit funny with a 6’2″ overweight guy, posing a female with mirroring can help your shoot along and also keep both parties safe in the process.
If you’ve never done it before, watch Sal Cincotta in any of his video’s to watch how he directs his subjects. If you need more, go check out Sue Bryce or Vanessa Joy on Youtube. There is a lot of good information out there for you to learn.
Make sure to have a family member along so they can make any physical adjustments on clothing, hair, makeup, etc. If you need additional weight on a light stand, this is the perfect time to get Mom to hold your light. You’ve already cleaned your gear so it’s safe. This is why we clean everything before and after.
#3
Scheduling and Travel
Clearly you need to take the additional time between sessions for cleaning your gear. Make sure you schedule accordingly.
While it may not be optimal, take an additional 40-60 minutes between sessions if you can. Have the time needed to clean all of your gear after every session.
Again, nothing has been mentioned about contact time so if you need to, a quick wipe down with the appropriate cleaning solution to get it knocked out and move on. Just make sure to get your lights, stands and modifiers wiped down also.
Travel will of course need to be limited to each family using their own vehicle. I personally don’t want them in my vehicle anyway for liability reasons.
This also helps prevent any potential cross contamination from surfaces that may have been neglected unintentionally.
#4 - Bonus
Downwind Hazards
Now this may be overkill considering we are shooting from over 6 feet away but if we are taking every precaution available, this is one more.
Downwind hazards are one of the first things every chemical and biological incident is concerned about. So I felt it wise to discuss briefly for you to take into consideration.
A majority of the time, photographers will be placing subjects with the wind at our back. To keep our subjects safe from anything we may be carrying, we should have a slight cross breeze to prevent anything reaching to them.
For photographers using smoke, this should be an easy concept for you.
If you were to drop a smoke bomb, where does the wind take the smoke? If it goes directly to them, they need to be shifted out of the smoke.
Shift them to a location that works optimally for wind in your subjects hair and while keeping them out of the smoke.
If the smoke goes straight up in the air (no wind), you are good to go. Same if the smoke were to linger on the ground. If the wind shifts at any point, so do they.
In these situations, it is best to work fast and efficiently to get all of the shots in that you need.
For those of you who don’t use smoke. You can use the golfers method of checking wind. Grab a fingertip of grass from around your feet. Toss it up in the air and see where it goes. Adjust your subject as you need to.
You can also use any aerosol or spray bottle to check the wind as well. Lots of options for you to use and keep your client safe.
If you have any ideas on how to improve this article or any suggestions or tips you have come up with. I’d love to hear about them below!